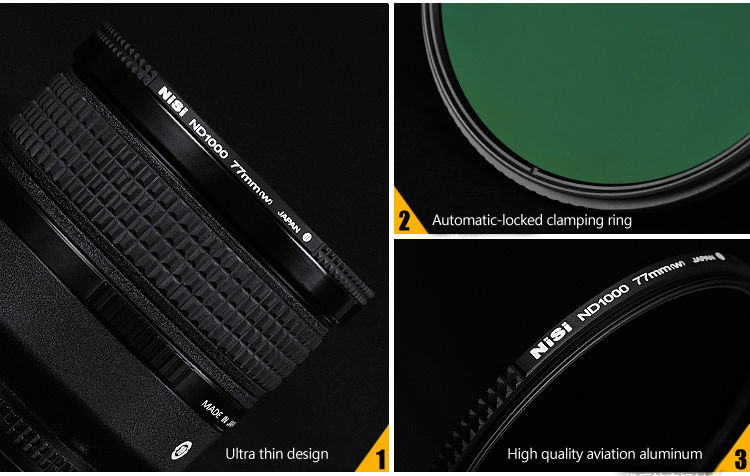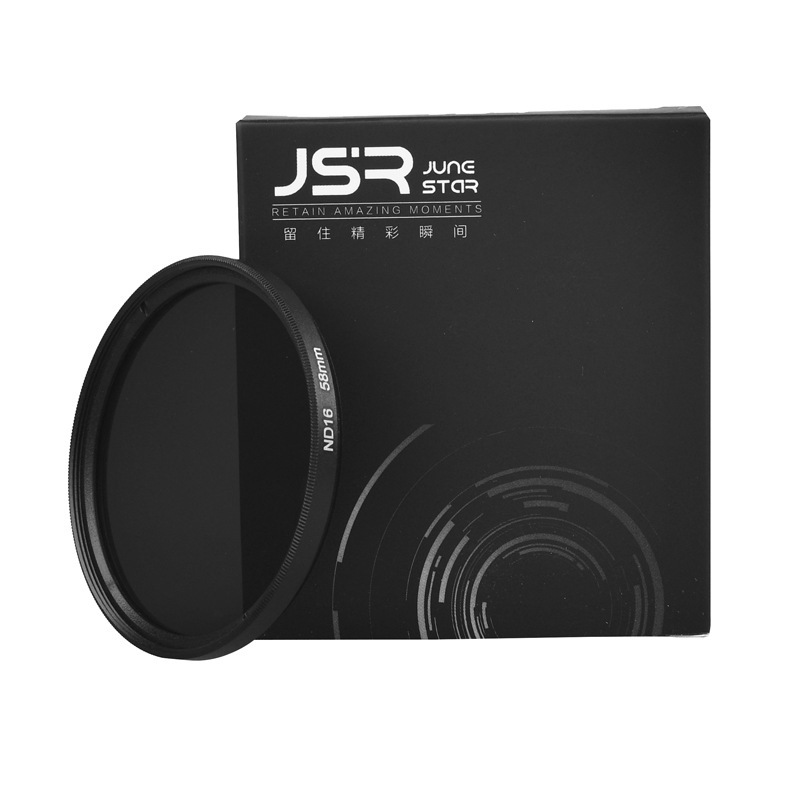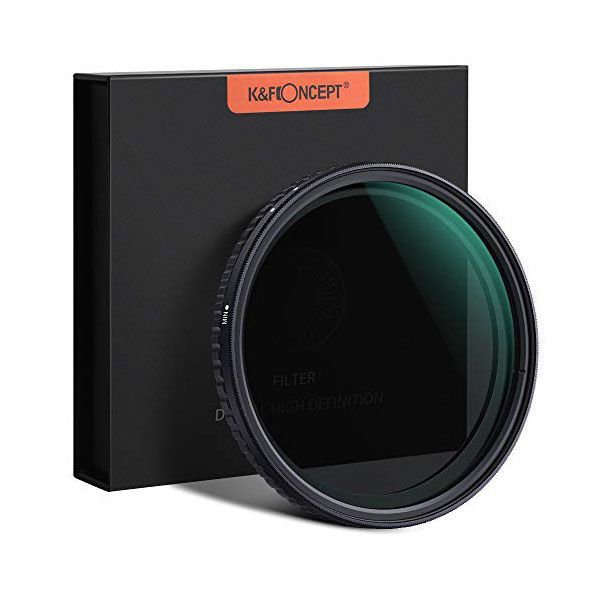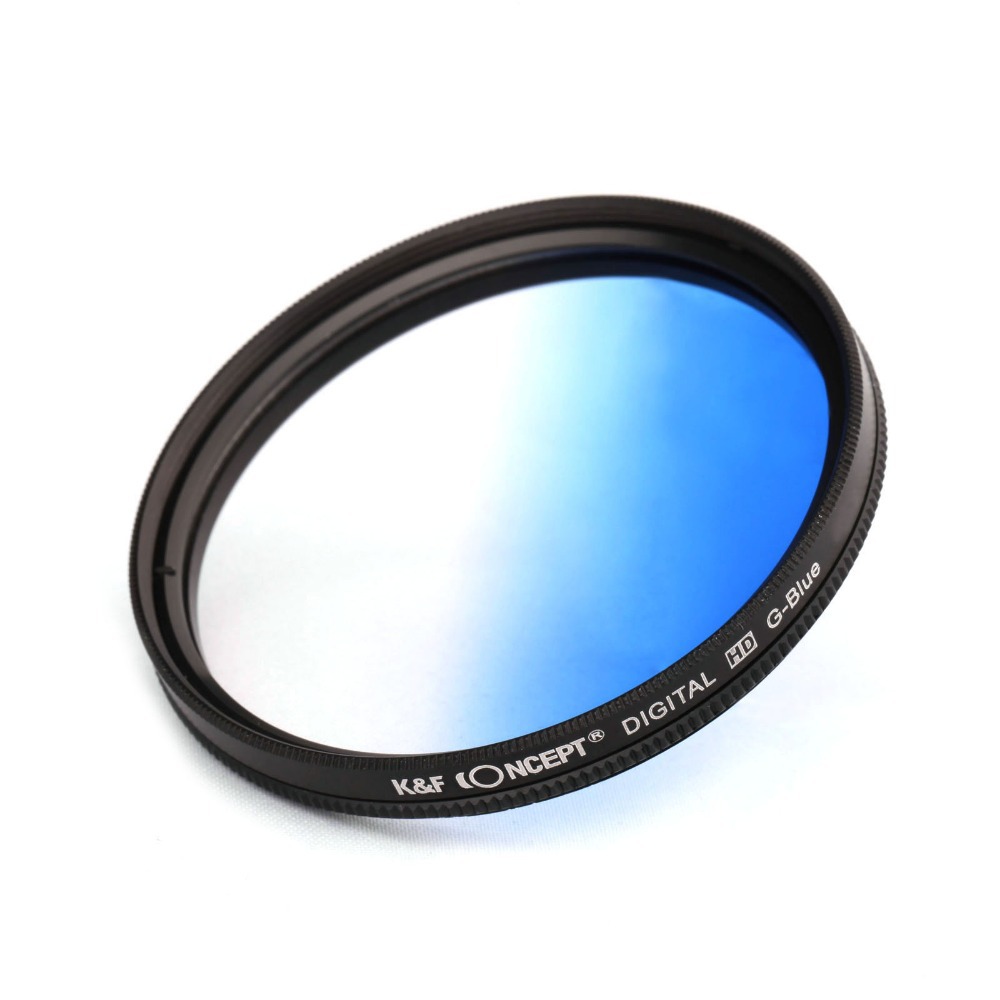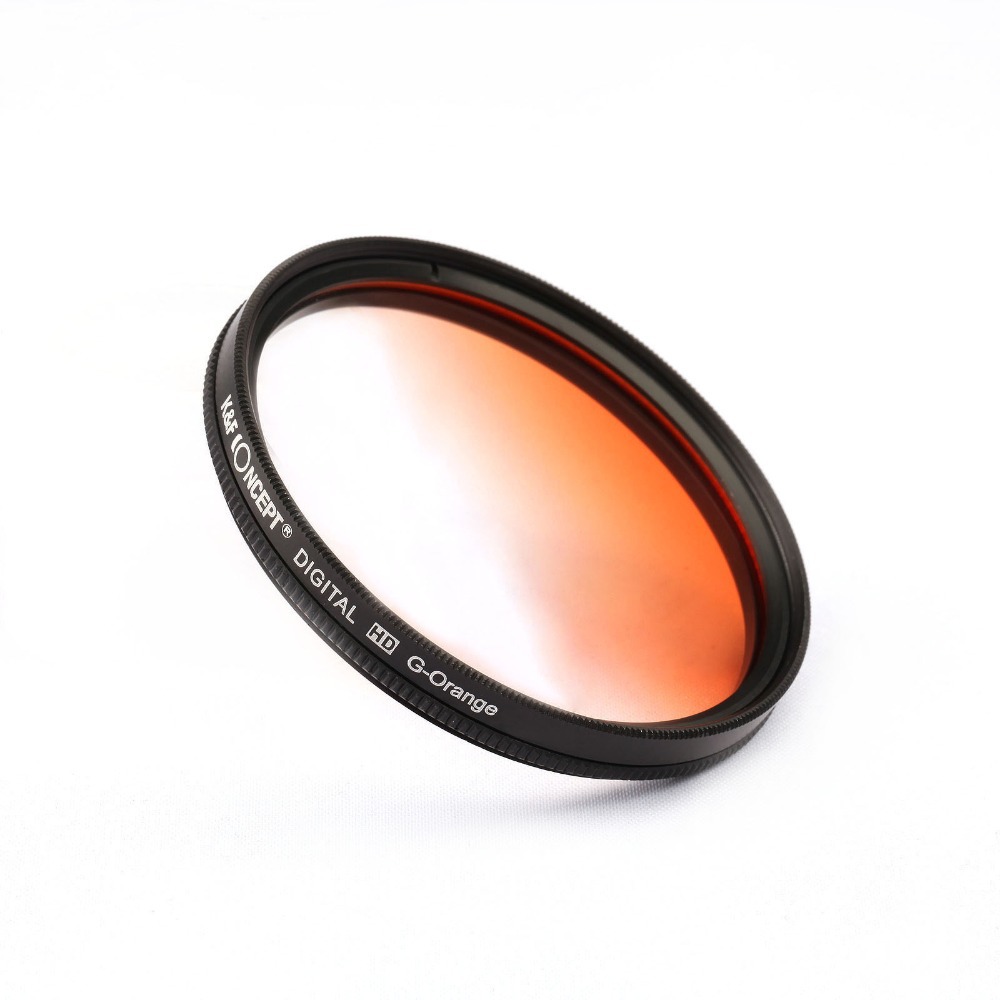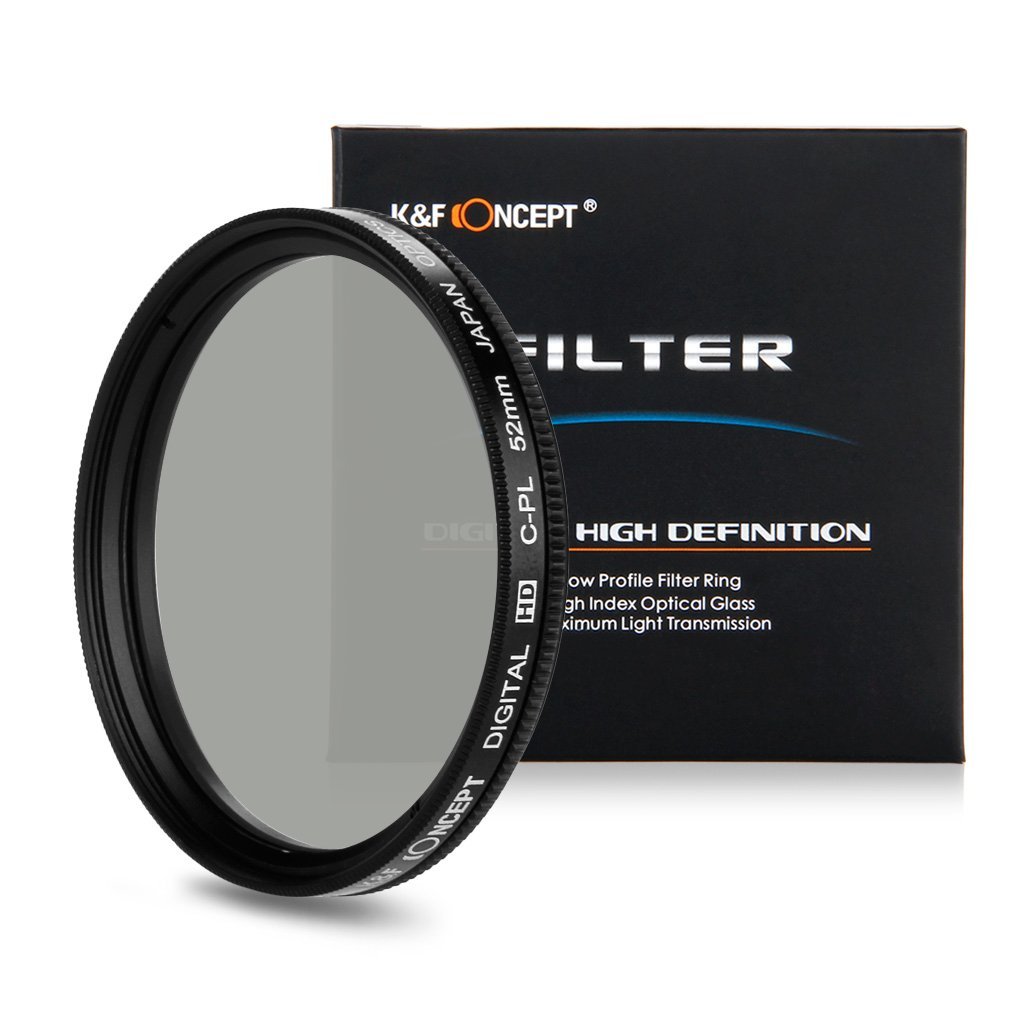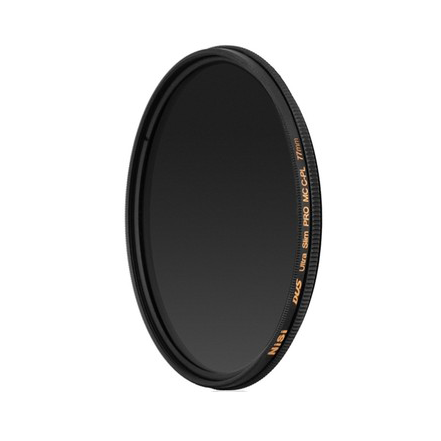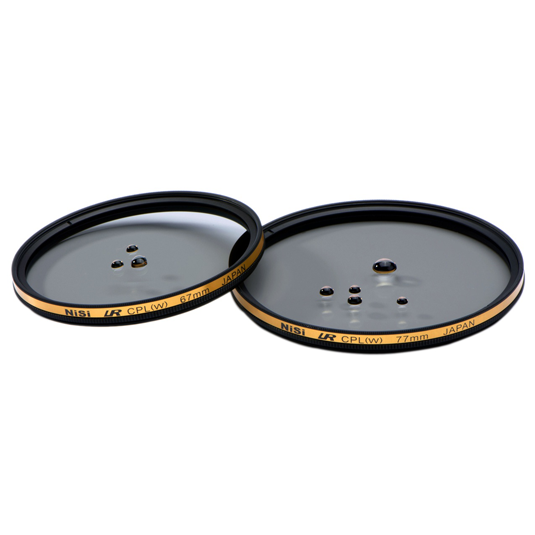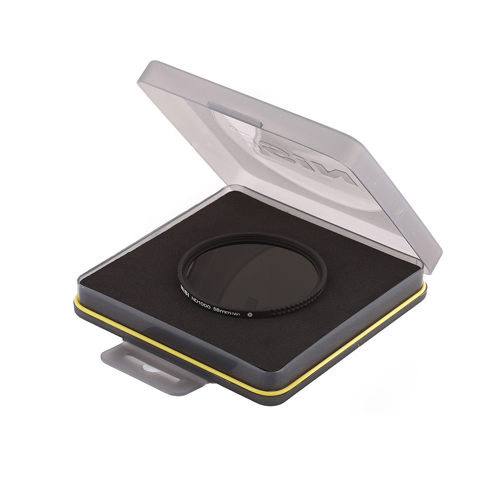
Nisi filter ND1000 - AGC glass

Nisi filter ND1000 - AGC glass - 1961837 Yêu thích

0 Lượt đã xem
0 Lượt mua thành công

Giá: 1,450,000 đ

+ Miễn phí giao hàng thu tiền tận nhà toàn quốc.
Số lượng

Trạng thái : Hết hàng


Thông tin chi tiết Đánh giá Bình luận

Specifications

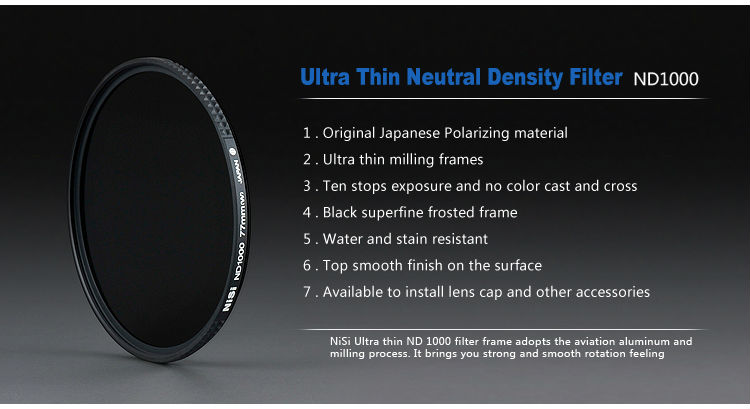
1. 100% Origin Japanese Polarizing material
2. Ultra-thin frame 
3. Waterproof and anti-reflective coating 
4. Ultra-smooth surface 
5. No color cast and cross 


NiSi  camera lens filter ND1000 filter


Product description                                                                                                         

Optical coatings are anti-reflective and water and stain-resistant.Ultra-thin filter frames design help in avoiding vegetating on

ultra wide-angle lenses and means that in extreme situations ND filters can be used in combination.Allows you to reduce

light entering through the camera by some ten stops, ideal in very bright condition or when photographing a very reflective

subject.Optical performance of many lenses is poorer at their smallest apertures, due to diffraction, so neutral density filters

used witha tripod because of the slower shutter speeds necessary.allow photographers to be more flexible in choosing

the shutter speed and aperture combination to best suit the lens, depth of field needed, subject and desired result.

Affords photographers that extra degree of control in achieving the high-quality and creative images they want.


Key features
 

Attributes
 

Available sizes


Details show


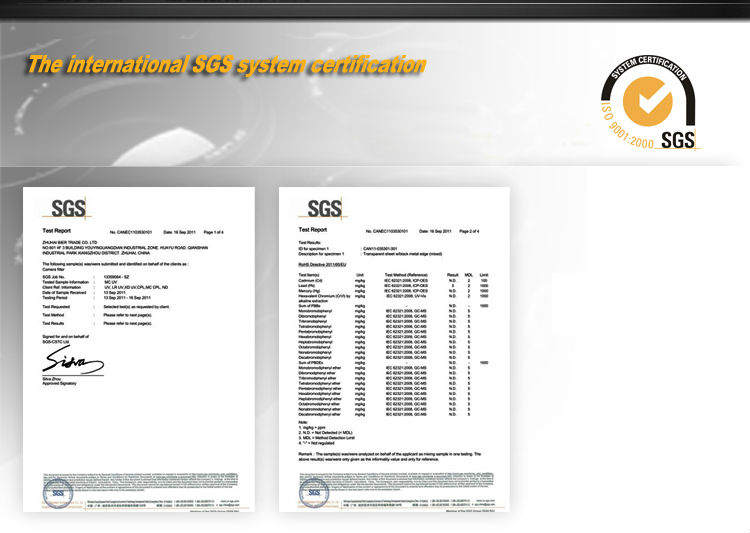
SGS Certification
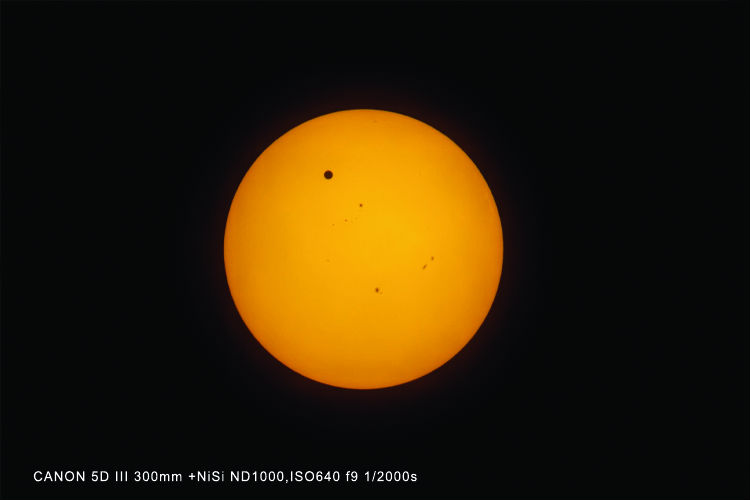
Sample
Why should I use Neutral Density Filter ? 

The use of an ND filter allows the photographer to utilize a larger aperture that is at or below the diffraction limit, which varies depending on the size of the sensory medium (film or digital) and for many cameras, is between f/8 and f/11, with smaller sensory medium sizes needing larger sized apertures, and larger ones able to use smaller apertures.

Instead of reducing the aperture to limit light, the photographer can add a ND filter to limit light, and can then set the shutter speed according to the particular motion desired (blur of water movement, for example) and the aperture set as needed (small aperture for maximum sharpness or large aperture for narrow depth of field (subject in focus and background out of focus). Using a digital camera, the photographer can see the image right away, and can choose the best ND filter to use for the scene being captured by first knowing the best aperture to use for maximum sharpness desired. The shutter speed would be selected by finding the desired blur from subject movement. The camera would be set up for these in manual mode, and then the overall exposure then adjusted darker by adjusting either aperture or shutter speed, noting the number of stops needed to bring the exposure to that which is desired. That offset would then be the amount of stop needed in the ND filter to use for that scene. 

 
Examples of this use include: 

Blurring water motion (e.g. waterfalls, rivers, oceans).  

Reducing depth of field in very bright light (i.e. daylight).  

When using a flash on a camera with a focal-plane shutter exposure time is limited to the maximum speed -often 1/250th of a second, at best- at which the entire film or sensor is exposed to light at one instant. Without an ND filter this can result in the need to use f8 or higher.  

Using a wider aperture to stay below the diffraction limit.  

Reduce the visibility of moving objects  

Add motion blur to subjects  
Neutral density filters are used to control exposure with mirror-lenses catadioptric optics, since the use of a traditional iris diaphragm increases the ratio of the central obstruction found in those systems leading to poor performance.
 
Nisi ND1000 and ND2000 Neutral Density Filters (Perfect filter for long exposure photos)
Nisi ND2000
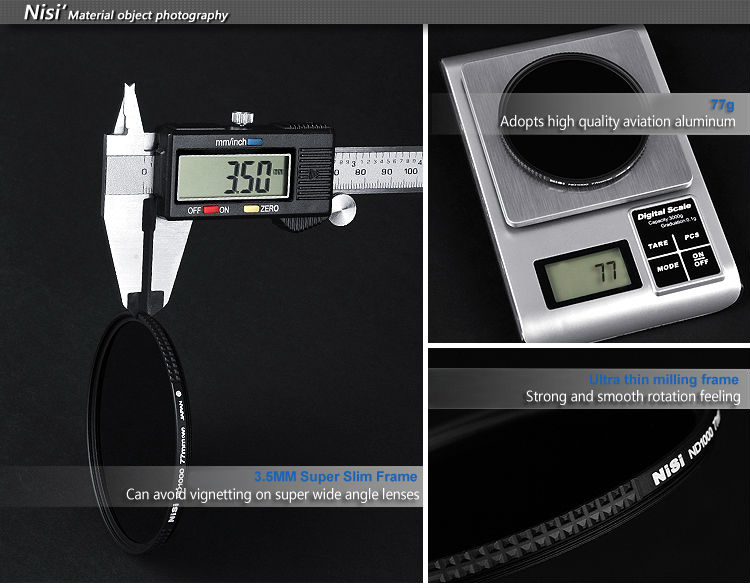
NiSi Ultra thin ND 2000 and ND1000 filter frame adopts the aviation aluminum and milling process. It brings you strong and smooth rotation feeling. The lens adopts double side anti-reflective coating. It is also water&stain resistant. The lens has strict polishing process in double sides which promises smooth finish on the surface. No color cast. With fine dull polishing on the frame so it can’t blanch because of repeated rotation. Ultra thin filter frames can avoid vignetting on super wide angle lenses. Furthermore, the screw thread in front of the frame makes it easy to install the lens cap and other accessories. All materials used in this filter meet the requirements of European Union’s standards of environment protection (ROHS, Restrictions on Hazardous Substances), they contain nothing hazardous.
 
The above how Nisi describes their ND filters in their website. I knew that there is a demand about filters which can give 10 or 11 fstop light decrease, so I decided to buy and test these filters. Upon my testing I saw that Nisi filters have great quality similar as B&W and Hoya Filters.
So considering that much exposure reduction Nisi ND filters is a perfect photography accessory to take long exposure photos even during day time in sunny weather. Especially to photograph moving clouds in a sunny weather, and to photograph rivers or waterfalls ND1000 or ND1000 filter is ideal filter.
Nisi ND2000 Box
As it can be seen, the filter is nicely boxed. It is not a simple plastic box. It is nicely and professionally packed.
 
Nisi Filters have the following specifications, and upon my testing I saw that they are 100% True:
Double Side Anti-Reflection Coating 
Water & Stain Resistant 
Ultra Thin Milling frame 
10 FStops Exposure Reduction for ND1000 and 11 Ftsops exposure reduction for ND2000 Filters
No Color Cast 
Top Smooth Finish on the Surface 
Matt Black Superfine Frosted Frame 
Fashionable Packaging
 
Here are some samples photos taken with Nisi ND1000 and ND2000 filters.
No Filter
No Filter : 1/500 shutter, f/2.8 apurture and ISO 200 (day time, cloudy weather)
 
With Nisi ND1000 filter
ND1000 Filter : ISO 400, f/2.8, 4/1 sn (4 second exposure)
That exposure reduction completely corresponds to 10 stop.
 
ND2000 Filter
ND2000 Filter, 30 seconds exposure at f/14 aperture and ISO 100. Daytime at sunny weather.
If the aputure could be f/22 instead of f/14, exposure time could be increased to 1 minute. And if the ISO was set at ISO 50, then the exposure time could be 2 minutes.
 
ND1000
 
ND2000
 
Kerper Turkey 54 seconds
This photo is taken in Turkey by a famous award-winning photographer Murat Ibranoglu using ND2000 filter. Exposure time is 54 seconds.
 
As can be clearly seen from all those photos, the filter does not create color cast. There is no dark areas in the corners. Even with some expensive filters there are some dark areas in the corners but Nisi filters do not cause dark areas in the corners. This is realy cool and makes it perfect filter for long exposure photos.
 
254 second
This photo taken by Selçuk Gülen from Turkey in Istanbul. ND2000 filtre used. Exposure time is 254 seconds @f22.
As can be seen in the photo, there is no color cast and no dark areas in the photo. The sharpness is still there.
 
Some simple tips for better long exposure photos.

Tip 1: Whilst a tripod is considered a baseline requirement for many landscape photographers, it is even more important when shooting with a 10-stop filter. Exposures can easily extend to greater than a couple of minutes, so it is vital that your tripod is as sturdy as can be. This typically means ensuring that the legs are stood on firm ground, the centre column is not extended and the strap is secured so not to catch the wind.

You will often read that people recommend hanging your camera bag from the tripod to add ballast weight, however I think that it can often act as a large sail and cause greater instability if windy, so I instead tend to place a beanbag (full of uncooked rice) on top of the camera to add extra weight, without significant additional surface area.

Tip 2: Given that the filter is incredibly dense, unless the conditions are really bright, there will not be enough light getting through to allow the autofocus to function. Therefore, it is best to compose and focus your shot without the filter, switch to manual focus and then carefully attach the filter. This way the lens will not hunt for focus when you press the shutter.

Tip 3: It is important to close the viewfinder shutter, or at least cover the viewfinder, to ensure accurate light metering (if shooting in an automatic exposure mode, such as aperture priority) and to prevent stray light from sneaking in during the exposure. I’m not sure how critical the second point is but given how much the auto-metering is affected by the open viewfinder, I no longer take the chance so ensure it is closed before taking my shot.

Tip 4: For exposures in excess of 60 seconds, you’ll need to be able to locate the ‘BULB’ mode of your camera. Switching to BULB enables you to open the shutter for as long as you choose, enabling really long exposures, meaning:

  • You will most likely need a remote shutter release cable so that you can lock the shutter open for a given period of time (it’s a good idea to attach the remote release to the tripod using Velcro during the exposure, again to stop it from catching the wind and swinging around).
  • You will most likely need a way of calculating how long to leave the shutter open for. In some cases, the maths is trivial (for example, if an exposure without the filter is ¼ s, when using a 10-stop filter it becomes 0.25 s x ~1000 = 250 s, 250 s / 60 = ~4 minutes) but in others it can be more difficult, and as the light conditions can change pretty quickly, a phone app (such as NDCalc for android/iOS) can come in very handy.

Tip 5: Choose the right conditions. Ideal conditions for long exposure photography are when there is dappled cloud and a strong wind (see Tip 1). If there are no clouds, or no wind, there will be nothing to add movement. I prefer to shoot around sunrise/sunset, as then the sun is low in the sky, increasing the contrast in the clouds, resulting in an exaggerated streaking effect in the final image.

Tip 6: Even at low ISO, super long exposures can introduce noise in the form of hot pixels. You may not be able to see these when viewing the results on the LCD screen of your camera, but when viewed at 100 % on your computer monitor, you may find a number of bright red/green/blue pixels in your image.

An effective way to remove them is to take an exposure of identical length, at the same ISO, with the lens cap on. The hot pixels will be identical in all shots, almost like a finger print of your sensor, so by replicating the exposure with the lens cap on, you will generate an entirely black image, with the same hot pixels, to subtract away from your chosen image during post-processing.

Tip 7: Some brands of filter are known to leave more of a colour cast on the final image. This is a great reason (one of many) to shoot in RAW, as the colour casts can often be corrected during post-processing. Sometimes, for particularly long exposures, it may just irreversibly compromise an image and, in those instances, a black and white conversion is often the best way to overcome it. (This color cast problem is not valid for Nisi filters, as they dont create color casts).

Tip 8: A long exposure does not make up for poor composition. In fact, the you will probably be even more frustrated at the resulting photograph given the additional effort required to take and process it


Bình luận sản phẩm

Đánh giá sản phẩm

1. Đánh giá sản phẩm

2. Nội dung đánh giá0 ký tự

Bình luận sản phẩm